


Let me be blunt: you’re overcooking your halibut. Every single time. And that tragic, chalky texture you’ve resigned yourself to? It’s a crime against one of the ocean’s most magnificent fish. The irony is that the solution has been hiding in plain sight — a technique so elegant, so scientifically sound, that it simultaneously protects, flavors, and transforms halibut into restaurant-quality perfection.
I’m talking about a golden Parmesan-garlic butter crust. But before you dismiss this as just another topping, understand this: we’re engineering a moisture barrier using the Maillard reaction, fat encapsulation, and thermal insulation. This isn’t cooking. It’s applied food science that happens to taste extraordinary.
Why Halibut Fails In Home Kitchens
Halibut is unforgiving. With only 2-3% fat content compared to salmon’s 13%, halibut has zero margin for error. The moment its internal temperature crosses 130°F, moisture evacuation accelerates exponentially. By 140°F — what most home cooks consider “done” — you’ve lost nearly 25% of the fish’s moisture content.
The molecular structure of halibut’s myofibrillar proteins begins denaturing at 122°F. Without adequate fat protection, these proteins contract violently, squeezing out precious moisture like wringing a towel. Food science research confirms that lean fish requires either incredibly precise timing or a protective coating to maintain juiciness.
This is where most recipes fail you. They tell you to “cook until opaque” or “until it flakes easily” — both indicators that you’ve already overcooked the fish by at least 10 degrees. The moment halibut flakes easily, it’s dry. Professional chefs know this. Now you do too.
The Science Behind The Parmesan Crust
A properly constructed Parmesan crust creates three simultaneous protective mechanisms. First, the aged cheese forms a moisture-retentive layer through its casein proteins, which bind water molecules and prevent evaporation. Second, the butter component — and we’re using real butter, not margarine — creates a lipid barrier that conducts heat more gently than direct oven air.
Third, and most critically, the Maillard reaction creates flavor compounds that mask any slight overcooking. When amino acids in Parmesan react with reducing sugars at temperatures above 280°F, they generate hundreds of flavor molecules — the same savory, umami-rich compounds that make browned meat irresistible. This golden crust isn’t just protection; it’s flavor amplification.
The garlic contributes allicin and sulfur compounds that become sweet and nutty when heated in fat. Raw garlic would burn and turn acrid at oven temperatures, but when suspended in butter and shielded by cheese, it caramelizes into concentrated sweetness. The chemistry is elegant: you’re using fat as both a flavor vehicle and a temperature moderator.
The Recipe: Engineered For Perfection
This isn’t a casual Tuesday night dinner. This is the dish you make when you want to understand what properly cooked fish actually tastes like. Reserve 40 minutes, use a kitchen thermometer, and commit to precision. The reward is halibut so moist it nearly melts, encased in a crust that shatters like golden glass.
Ingredients (serves 4):
- 4 halibut fillets (6 oz each, 1-inch thick, skin removed)
- 6 tablespoons unsalted butter, softened to exactly room temperature
- 1 cup finely grated Parmigiano-Reggiano (use a microplane, not pre-grated)
- 4 garlic cloves, minced to a paste with salt
- 2 tablespoons fresh parsley, minced
- 1 tablespoon lemon zest (from 1 large lemon)
- 1 teaspoon fresh thyme leaves
- ½ teaspoon freshly cracked black pepper
- ¾ teaspoon kosher salt
- 2 tablespoons olive oil
- Lemon wedges for serving
Step 1: Build The Crust Mixture
In a bowl, combine softened butter, Parmigiano-Reggiano, garlic paste, parsley, lemon zest, thyme, and black pepper. Mix with a fork until uniformly combined — you want a paste that spreads easily but holds its shape. The butter must be soft enough to incorporate the cheese without clumping, but not so warm that it separates.
Room temperature butter (around 65°F) has the ideal plasticity for emulsifying with cheese. Too cold, and the cheese won’t integrate. Too warm, and the fat will separate during cooking, causing the crust to slide off. This temperature precision matters more than you think.
Step 2: Prepare The Halibut
Pat the halibut completely dry with paper towels — and I mean bone dry. Any surface moisture will create steam, preventing the crust from adhering and browning properly. Season both sides with kosher salt (½ teaspoon total), but do this just before cooking. Salt draws out moisture over time, so early salting will sabotage your crust adhesion.
Inspect each fillet for pin bones by running your finger along the flesh. Remove any with tweezers or needle-nose pliers. Professional kitchens never skip this step, and neither should you.
Step 3: Sear The Foundation
Heat 2 tablespoons olive oil in an oven-safe skillet over medium-high heat until it shimmers but doesn’t smoke (approximately 375°F). Place halibut presentation-side down — this is the side that didn’t have skin. Sear for exactly 2 minutes without moving the fish. You’re creating a golden foundation and jump-starting the Maillard reaction.
Resist the urge to fiddle with the fish. Movement prevents proper crust formation. The fish will release naturally from the pan when it’s ready — forcing it early tears the flesh and ruins the presentation.
Step 4: Apply The Crust And Bake
Remove the pan from heat. Flip each fillet carefully, then spread the Parmesan-butter mixture generously across the top surface — approximately 2-3 tablespoons per fillet. Don’t be shy; this protective layer is your insurance policy against dryness.
Transfer the entire skillet to a preheated 425°F oven. Bake for 8-10 minutes, depending on thickness. You’re targeting an internal temperature of 125-130°F at the thickest part. Use an instant-read thermometer inserted horizontally into the side of the fillet — never pierce from the top, as you’ll breach the crust and allow moisture to escape.
At 8 minutes, check the temperature. The moment it reads 125°F, remove the pan. The fish will continue cooking from residual heat (carryover cooking), reaching a perfect 130°F as it rests. This is the window between moist and dry — respect it religiously.
Step 5: Finish Under The Broiler
If the Parmesan crust hasn’t achieved a deep golden-brown color after baking, switch your oven to broil (high setting) and return the pan for 1-2 minutes. Watch continuously — broilers vary wildly in intensity, and the difference between perfectly caramelized and burnt happens in seconds.
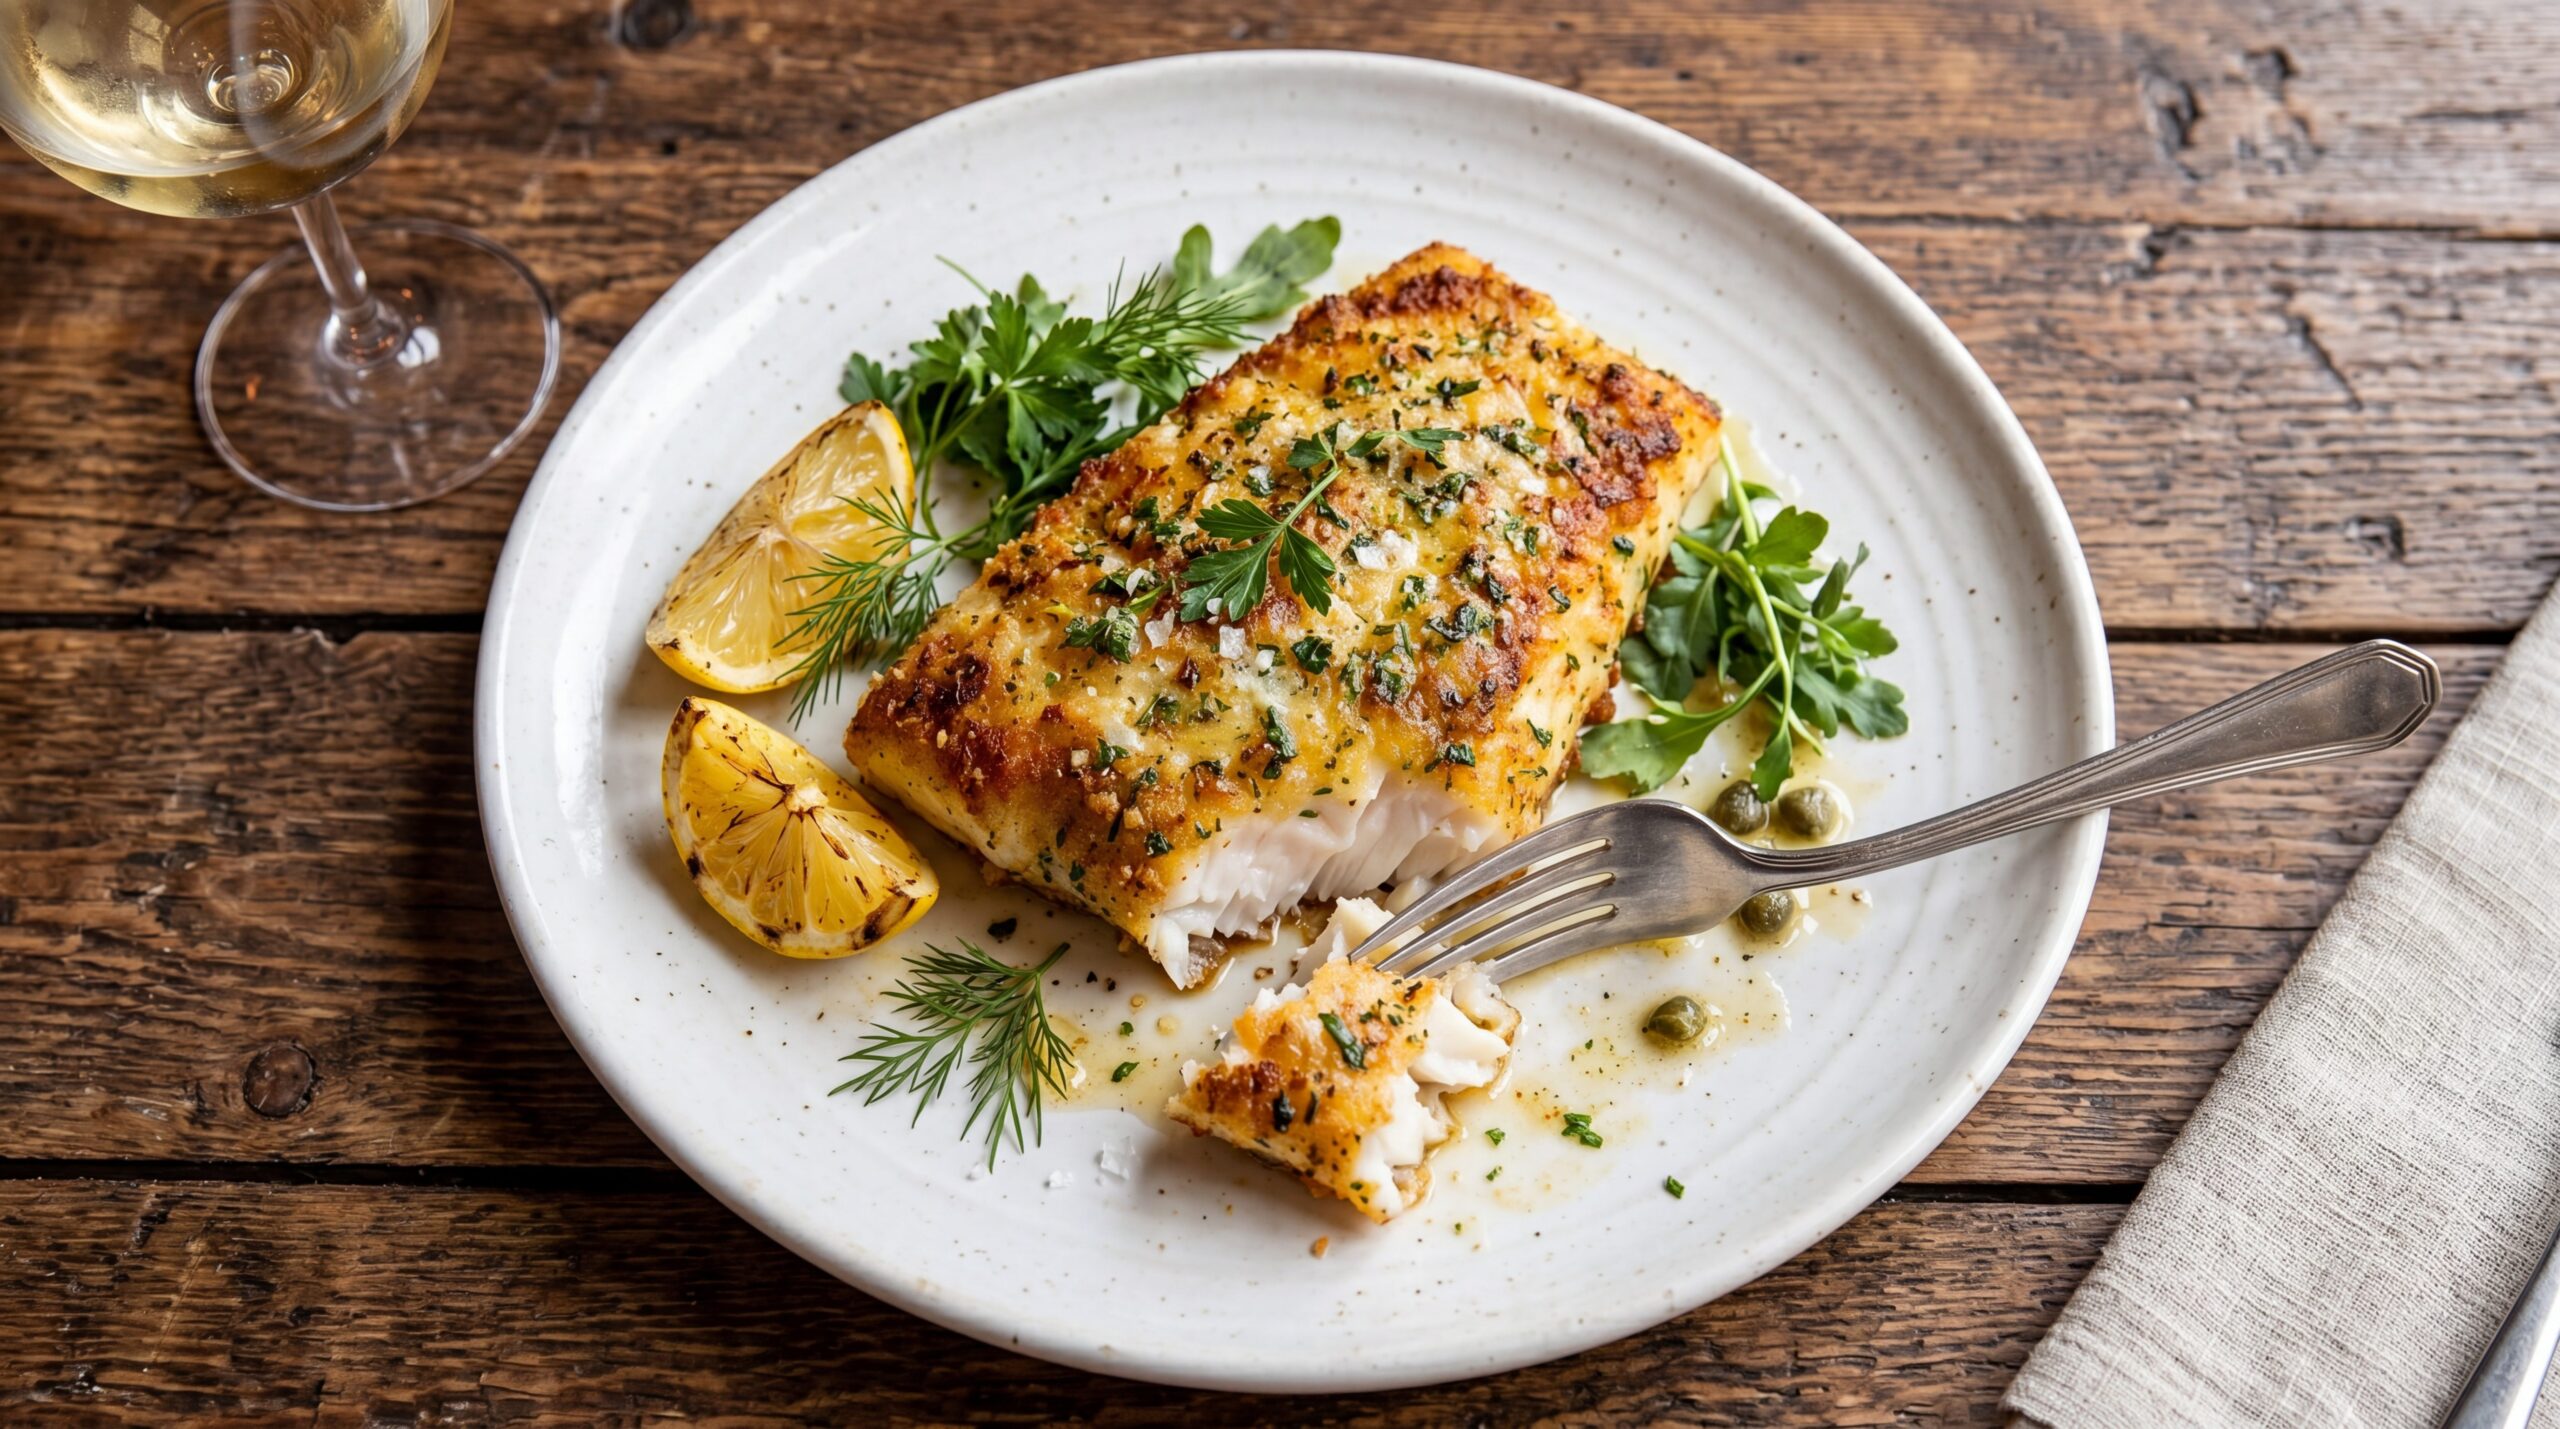
You’re looking for a crust color similar to perfectly toasted bread: deep gold with darker spots where the cheese has concentrated. The surface should bubble gently and smell intensely savory, with notes of toasted nuts and browned butter.
Common Mistakes That Ruin This Dish
Mistake #1: Using Pre-Grated Parmesan
Pre-grated Parmesan contains cellulose (wood pulp) as an anti-caking agent, which prevents proper melting and creates a grainy, separated crust. Always buy a wedge of genuine Parmigiano-Reggiano and grate it yourself on a microplane. The texture difference is night and day — freshly grated cheese melts into a cohesive, creamy crust, while pre-grated remains granular and dry.
Mistake #2: Skipping The Sear
Some recipes skip the stovetop sear entirely, going straight to the oven. This is lazy cooking that produces inferior results. The sear creates a flavorful foundation layer and reduces total oven time, minimizing moisture loss. More importantly, it initiates Maillard browning on the bottom surface, so you’re developing complex flavors from two directions simultaneously.
Mistake #3: Applying The Crust To Raw Fish
I’ve seen recipes that coat raw fish with the butter mixture before any cooking. This causes two problems: first, the butter melts and runs off before it can form a crust; second, the extended oven time required to cook raw fish from start to finish guarantees overcooking. The partial sear is non-negotiable — it sets the stage for a short, intense oven finish that protects moisture.
Mistake #4: Not Accounting For Carryover Cooking
Halibut continues cooking for 3-5 minutes after leaving the oven, rising approximately 5-7°F. If you pull the fish at 135°F because “it doesn’t look done,” it will coast to 142°F — firmly in the dry zone. Trust the thermometer, not your instincts. The fish will look slightly translucent in the very center when you remove it at 125°F. That’s correct. As it rests, the center will turn opaque while retaining all its moisture.
Why This Method Works When Others Fail
Traditional halibut recipes rely on timing alone: “bake for 10 minutes per inch of thickness.” This is cooking by approximation, not precision. Oven temperatures vary, fillet thickness varies, and starting temperatures vary. Following a rigid time guideline is like driving blindfolded and hoping you stop at the right address.
The Parmesan crust method succeeds because it creates a visual indicator (golden-brown crust) that correlates with proper internal temperature. But more fundamentally, it succeeds because it addresses halibut’s central weakness: lack of protective fat. By engineering a fat-and-protein barrier, we’ve essentially transformed lean halibut into fatty halibut without changing its delicate flavor.
The technique also front-loads flavor development. Instead of hoping the fish itself tastes interesting, we’re creating intense savory notes through cheese browning and garlic caramelization. The fish becomes a canvas for Maillard complexity — the same reason people prefer grilled steak to boiled steak.
Variations And Serving Suggestions
Once you master the base technique, variations become intuitive. Add ½ teaspoon of Dijon mustard to the butter mixture for tangy depth. Substitute half the Parmesan with Gruyère for a nuttier profile. Mix in finely chopped sun-dried tomatoes for concentrated umami and acidity that cuts through the richness.
For serving, keep it simple so the fish remains the star. Roasted asparagus with lemon, garlic mashed potatoes, or a crisp arugula salad with lemon vinaigrette all work beautifully. The crust is already rich, so avoid heavy cream sauces that would compete. A squeeze of fresh lemon juice just before serving brightens the dish and provides essential acidity.
If you’re feeding a crowd, this technique scales perfectly. Use two skillets or work in batches — the sear-then-crust method is efficient and produces consistent results. You can even prepare the butter mixture a day ahead; refrigerate it, then let it soften 30 minutes before using.
The Professional Secret You Need To Know
Here’s what separates restaurant halibut from home-cooked halibut: professionals use a technique called “basting” during the oven phase. After applying the crust and placing the skillet in the oven, they tilt the pan every 2-3 minutes and spoon the melted butter over the fish. This continuous basting keeps the surface moist and intensifies flavor integration.
It’s a simple move that requires 20 seconds of attention but elevates the dish significantly. The hot fat continuously reheats the crust surface, promoting even browning and preventing any dry spots. It also ensures the garlic flavor permeates the entire fillet, not just the top layer.
Why This Technique Changes Everything
Once you experience properly cooked halibut — moist, flaky but not dry, with a savory crust that adds textural contrast — you’ll understand why technique matters more than ingredients. You could use the finest halibut from Alaska and still produce mediocre results with poor execution. Conversely, this method makes even standard halibut taste extraordinary.
The larger lesson here applies beyond this recipe: cooking is applied chemistry. When you understand the molecular mechanisms — protein denaturation, moisture retention, Maillard reactions — you stop following recipes blindly and start cooking with intention. You make informed decisions based on what’s actually happening at a cellular level.
That’s when cooking transforms from a chore into a superpower. You’re no longer hoping the dish turns out well; you’re engineering it to succeed through scientific understanding. And the difference between hope and certainty? That’s the difference between a home cook and a chef.
Start with this halibut technique. Master the temperature control, perfect the crust application, and experience what properly cooked fish actually tastes like. Then apply those principles everywhere: to chicken, pork, even vegetables. Once you understand that moisture retention and flavor development follow predictable patterns, you’ll never cook the same way again.