




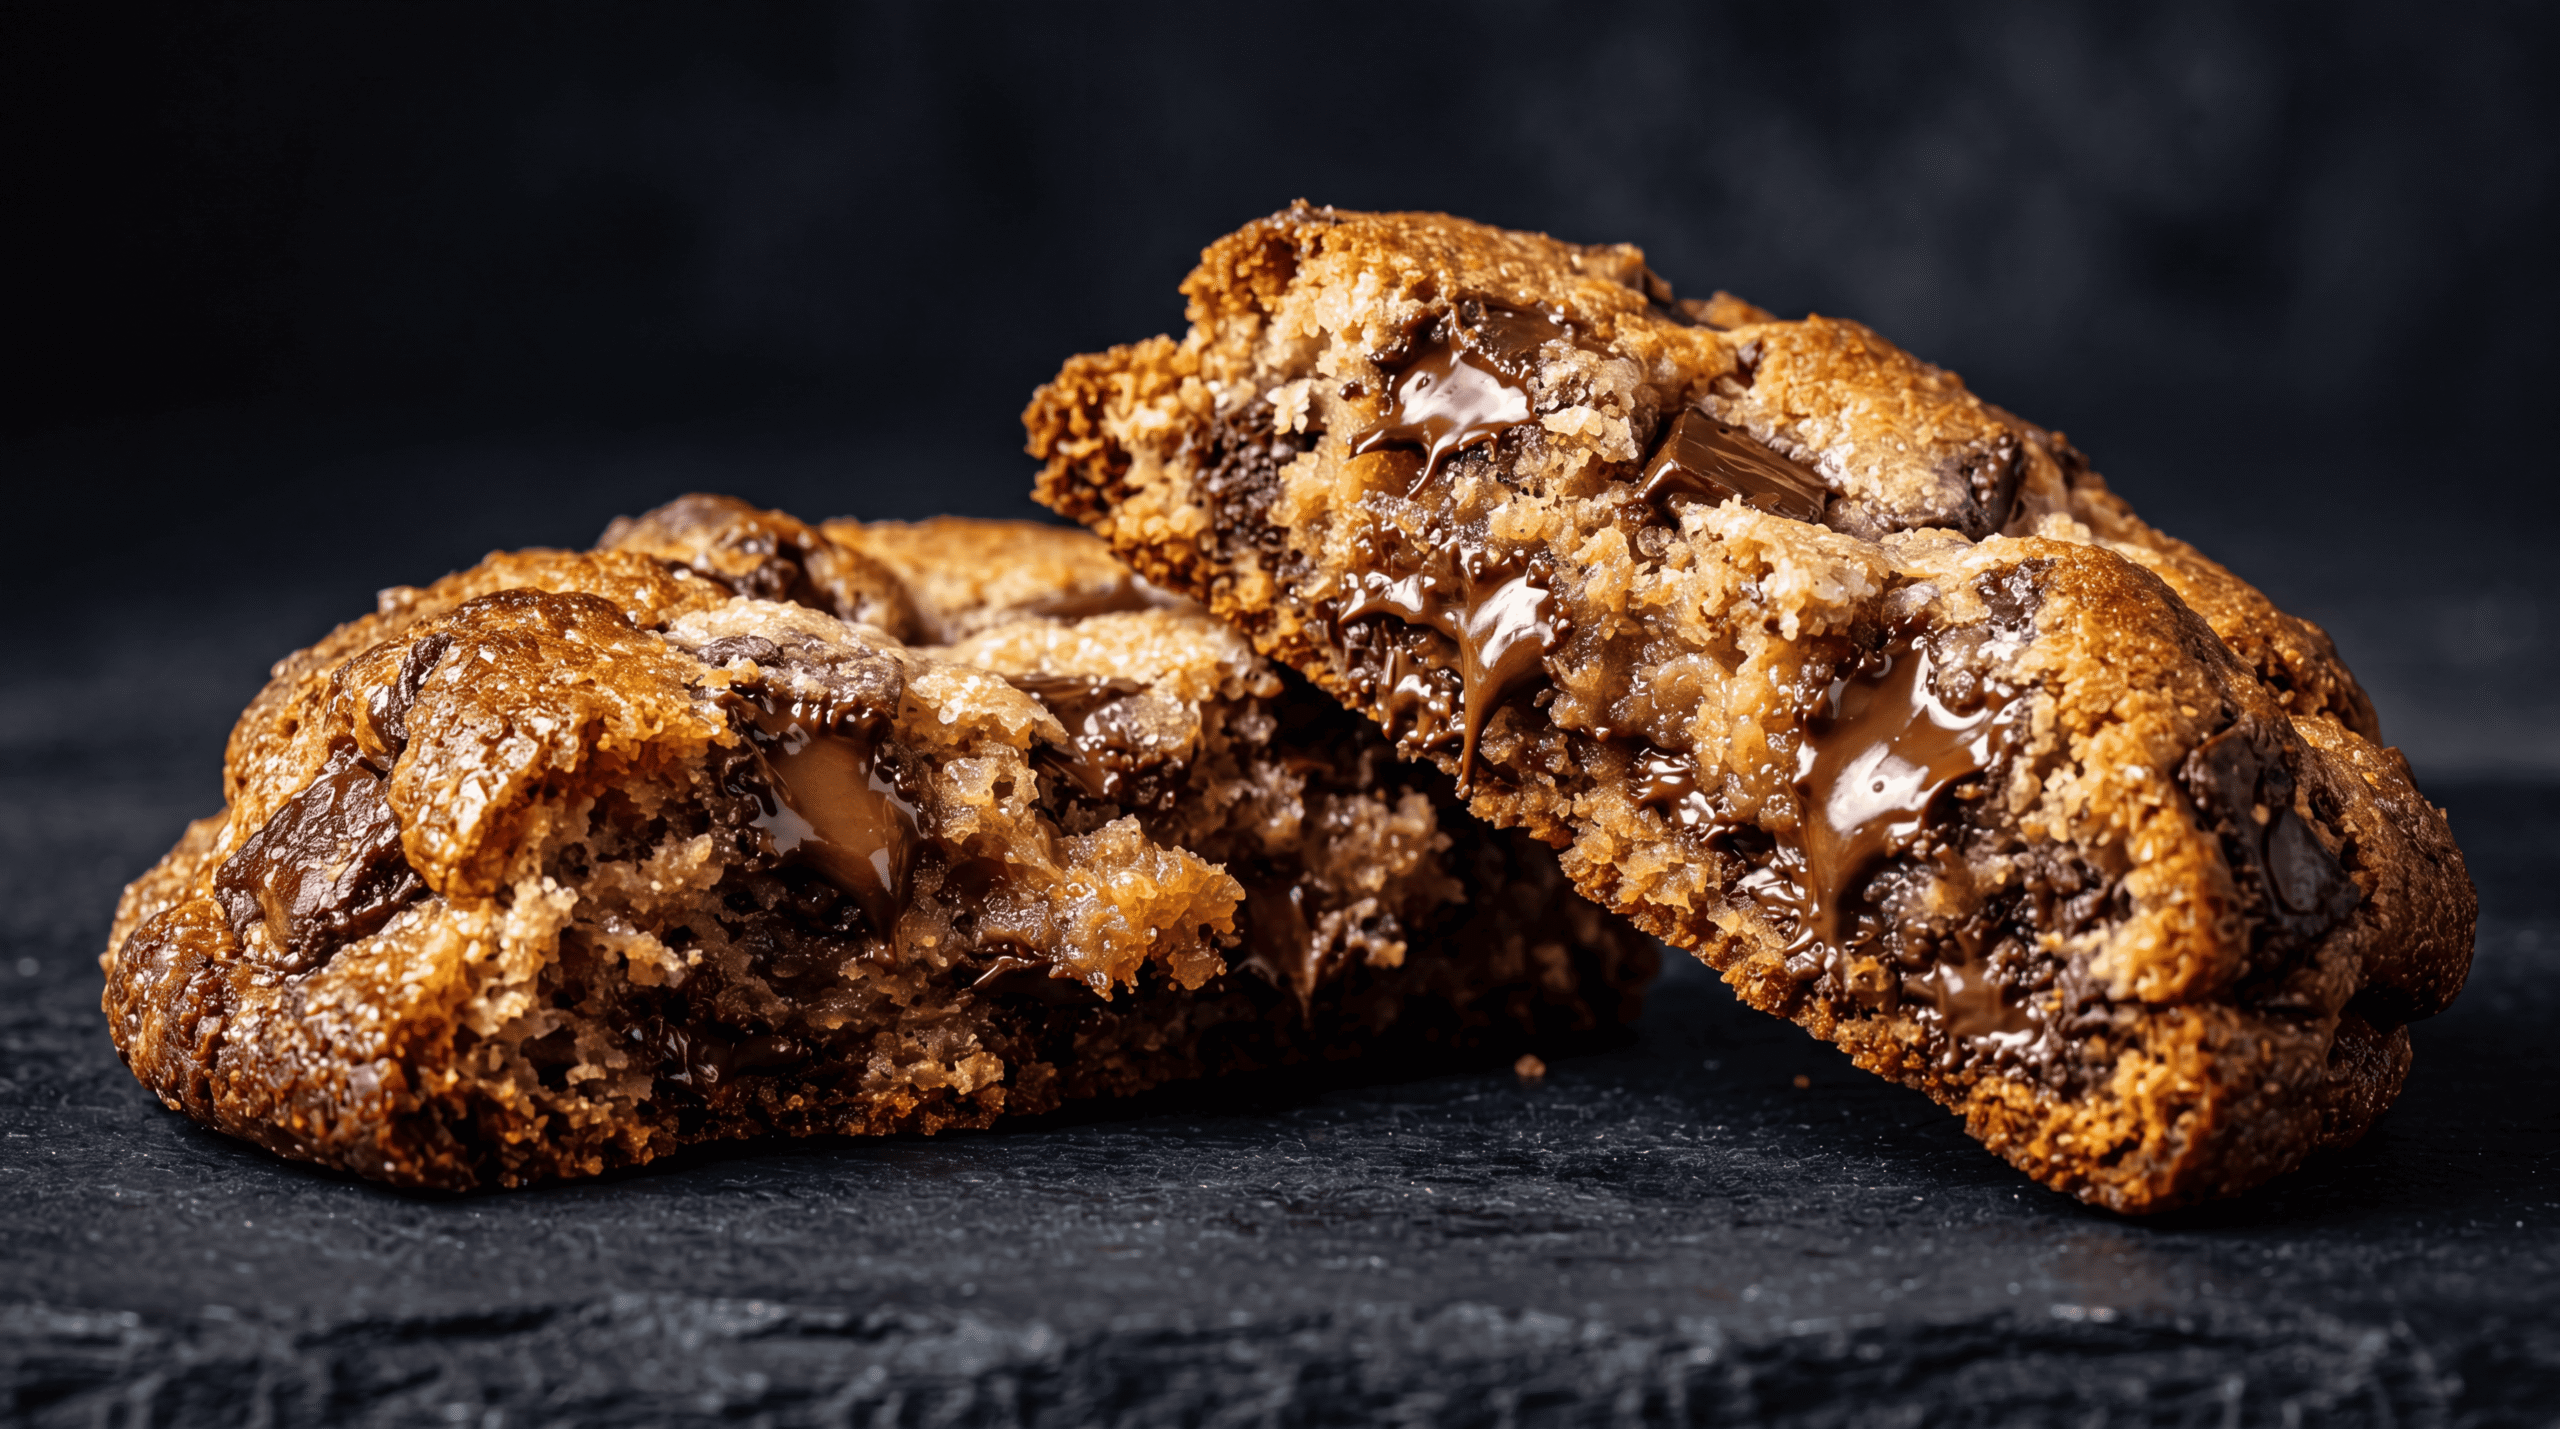

Here’s what you’ve been doing wrong: You’re making chocolate chip cookies like it’s 1950. Flat sheets of uniform dough that spread into thin, one-dimensional disappointments. Meanwhile, viral scoop cookies are dominating social media because they solve the fundamental problem home bakers have struggled with for decades — controlling the Maillard reaction to create maximum texture contrast.
The scoop cookie method isn’t just trendy. It’s scientific engineering disguised as nostalgia. By forming thick, tall dough balls instead of flat discs, you create a thermal gradient that produces crispy edges, chewy middles, and puddles of melted chocolate that stay liquid longer during baking. This is exactly how professional bakeries achieve cookies that look like they’re worth $6 each.
The Science Behind Scoop Cookie Architecture
When you scoop cookie dough into tall mounds, you’re creating three distinct thermal zones. The bottom makes direct contact with the hot baking sheet and develops a firm, caramelized base through aggressive Maillard browning reactions. The edges spread outward and upward, creating a crispy shell as surface sugars caramelize. The center remains protected, staying soft and underbaked even as the exterior sets.
This architectural approach solves the spread problem that ruins most homemade cookies. Traditional flat dough discs have nowhere to go but outward. Tall scoops spread upward first, then outward, creating natural containment. The result? Cookies that maintain structural integrity instead of melting into thin wafers.
The chocolate distribution also changes dramatically. In tall cookies, chips settle throughout the vertical structure, creating chocolate veins rather than uniform dots. When the cookie bakes, melted chocolate pools in the center while edge chips get toasted. You’re creating chocolate diversity in a single bite — something impossible with flat cookies.
Why Temperature Gradients Matter More Than Recipe
Most cookie recipes focus on ingredient ratios. That’s amateur thinking. Professional bakers obsess over thermal management. A 2-inch tall scoop cookie creates a 40-50°F temperature difference between edge and center during the critical first 8 minutes of baking. This gradient is everything.
The edges reach 310°F — the temperature where Maillard reactions accelerate exponentially. Amino acids and reducing sugars create hundreds of new flavor compounds. You’re building complexity the same way a seared steak develops crust. The center stays around 170°F, just hot enough to melt butter and chocolate but cool enough to prevent protein coagulation. That’s your chew.
This is why bakery cookies taste fundamentally different from homemade versions. It’s not better flour or secret ingredients. It’s controlled heat distribution through deliberate shape design. The scoop method democratizes this professional technique.
The Cookie Tin Technique That Changes Everything
Here’s the viral twist: baking cookies inside a metal tin. This creates an even more dramatic thermal environment. The tin walls reflect heat inward while slowing edge spread. Your cookies bake taller and more uniformly because they can’t expand horizontally past the tin barrier.
Metal is a better heat conductor than the trapped air around free-form cookies. The tin creates a convection chamber that cooks more evenly. Your centers bake slightly faster while edges stay controlled. It’s the difference between roasting vegetables spread on a sheet versus packed in a pan — concentrated heat produces better caramelization.
The tin also creates steam. As butter melts, water vaporizes but can’t escape quickly. This moisture keeps interiors soft while exteriors crisp up. You’re essentially creating a mini steam oven effect — the same technique high-end bread bakers use for crackling crusts and tender crumbs.
Common Mistakes Killing Your Cookie Texture
Using room temperature dough: Warm dough spreads before the structure sets. Professional bakeries refrigerate scooped dough balls for at least 2 hours. Cold butter takes longer to melt, giving flour proteins time to form gluten networks that contain spread. Your cookies should start at 40°F or below.
Baking on cold sheets: The opposite mistake happens at the pan. If your baking sheet isn’t preheated, the bottom of your cookie warms gradually instead of searing. You lose that crucial caramelized base. Preheat your sheet for 5 minutes at 375°F before adding dough. The initial sizzle when dough hits hot metal is the sound of texture developing.
Overcrowding the tin or sheet: Cookies need air circulation to develop proper crust. Pack them too close and you create a humid environment that produces cake-like texture instead of crispy edges. Leave 3 inches between cookies, 2 inches between cookie and tin wall. This isn’t negotiable — it’s physics.
Pulling cookies when they look done: The biggest amateur tell. Cookies continue baking on the hot sheet for 3-5 minutes after removal from the oven. Pull them when centers still look slightly underbaked and edges are just golden. They’ll finish cooking from residual heat and maintain that crucial soft center.
The Master Recipe: Scoop Cookies With Controlled Architecture
Ingredients for 12 large cookies:
- 280g (2 cups plus 2 tablespoons) all-purpose flour
- 1 teaspoon baking soda
- 1 teaspoon fine sea salt
- 226g (1 cup) unsalted butter, melted and cooled to lukewarm
- 200g (1 cup) packed dark brown sugar
- 100g (½ cup) granulated sugar
- 2 large eggs, room temperature
- 2 teaspoons vanilla extract
- 340g (2 cups) dark chocolate chips or chunks
- Flaky sea salt for finishing
Method:
Whisk flour, baking soda, and salt in a medium bowl. In a large bowl, combine melted butter with both sugars. The mixture should feel like wet sand — not liquid. This is crucial. Liquid batter spreads; sandy batter holds shape.
Add eggs one at a time, beating vigorously after each addition. You’re creating an emulsion. The mixture should become glossy and thick, like mayonnaise. This takes 30 seconds of actual beating, not gentle stirring. Emulsification matters because it distributes fat evenly, which controls spread.
Stir in vanilla, then add flour mixture. Mix until just combined — you should still see a few flour streaks. Fold in chocolate chips. Now comes the critical step: refrigerate this dough for at least 2 hours, preferably overnight. Cold dough produces taller cookies with better texture contrast.
Preheat oven to 375°F with baking sheet inside. Using a #16 ice cream scoop (¼ cup capacity), form dough into tight balls. Don’t flatten them — height is your weapon against spread. If using a tin method, line a high-sided metal tin with parchment and arrange 4 scoops inside with 2 inches between each.
Bake 11-13 minutes for tin cookies, 9-11 minutes for free-form. Edges should be golden brown, centers still pale and puffy. They’ll look underdone. Trust the process. Remove from oven, immediately sprinkle with flaky salt, and let cool on the sheet for 5 minutes before transferring to a wire rack.
Why This Method Produces Bakery-Quality Results
Professional bakeries don’t have magic ingredients. They have systematic temperature control and understand dough behavior under heat. The scoop method replicates their approach without commercial equipment. You’re using shape, cold dough, and calculated baking time to engineer texture.
The melted butter technique also matters more than most recipes admit. Melted butter distributes differently than creamed butter. It coats flour proteins more completely, creating a denser initial structure that paradoxically produces chewier results. Creaming incorporates air, which sounds good but actually produces cake-like texture. You want density that slowly yields to your teeth — that’s the professional cookie texture.
The overnight rest does something remarkable: flour fully hydrates and gluten relaxes. When you bake, the dough is stronger and more elastic. It can hold its shape better while still producing tender results. This is the same reason pizza dough ferments for days. Time improves structure.
The Chocolate Chip Selection Nobody Talks About
Stop buying chocolate chips designed for cookies. They contain stabilizers that prevent melting. You want chocolate that melts aggressively, creating lava pools and burnt edges. Buy dark chocolate bars (60-70% cacao) and chop them irregularly into shards.
Irregular pieces distribute unevenly — exactly what you want. Some areas get chocolate-heavy, others chocolate-light. Thin shards melt and spread, creating those Instagram-worthy chocolate puddles. Thick chunks stay solid, giving you textural variety in every bite.
The tin method especially benefits from chopped chocolate because pieces settle vertically through the tall dough. When cookies spread, chocolate streaks run through the entire structure instead of dotting the surface. You’re creating chocolate architecture, not decoration.
Timing and Temperature Precision
Oven temperature is your most powerful variable. Most recipes say 350°F. That’s wrong for scoop cookies. At 350°F, cookies spread before structure sets. You need 375°F — hot enough to set edges quickly while centers stay soft. This aggressive heat creates the texture gradient that defines great cookies.
Watch for the moment when edges turn golden but centers still look wet and puffy. That’s your exact pull-point. At this moment, edge temperature is 310°F+ while centers are 170-180°F. You’re locking in maximum texture contrast. Wait 2 more minutes and everything converges to a uniform 200°F+ — the temperature where cookies become uniformly crispy and lose all chew.
The cooling period on the hot sheet is where final texture develops. As cookies cool, moisture redistributes. Edges lose steam and become crispy. Centers retain moisture and develop chew. This transformation happens between 200°F and 140°F — the critical cooling window. Rush it by transferring to a cold rack immediately and you’ll get steamed, soft edges. Nobody wants that.
The Viral Appeal of Imperfect Aesthetics
Scoop cookies look homemade in the best way. They’re craggy, irregular, and tall. This aesthetic signals “made with care” rather than “mass-produced.” The tin method amplifies this by creating pressed edges where dough meets metal, giving each cookie a unique geography.
Social media loves this look because it photographs with dramatic shadows and texture. A flat cookie is boring in photos. A 2-inch tall cookie with chocolate rivers and golden peaks creates visual interest. You’re not just baking — you’re creating content-worthy food that happens to taste incredible.
The rustic appearance also manages expectations perfectly. These cookies look like they came from someone’s kitchen, so the incredible texture becomes a pleasant surprise. Bakery-perfect appearance creates pressure. Homestyle appearance creates delight.
Your One Takeaway for Today
Stop flattening cookie dough. Form tall, compact scoops and bake them cold. This single change — vertical architecture instead of horizontal spreading — will transform your cookies from amateur to professional. You’re not just baking differently. You’re thinking like a chef who understands that shape controls temperature, and temperature controls texture.